 |
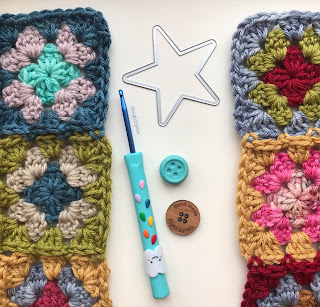
| Joining using join as you go method My festive make started in early December kind of by accident. I was looking through my Aran yarn stash after knitting so many hats and I was wondering what to do with the left over yarn both hand dye and Debbie Bliss Cashmerino Aran and sat down to make a couple of little granny squares (photo below) |
 |
| This is how it started |
I really liked how quick they were to crochet so during my Christmas break from work I made about 50 over a few evenings and the odd lunch break, they are quite addictive! It’s a great stash buster project and I do love mixing up the colours and using up some yarn
 |
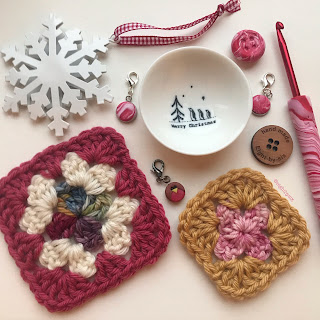
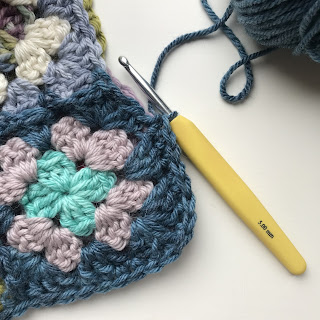
| Starting to take shape |
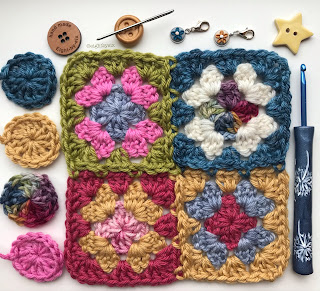
Then I started to join them using join as you go method JAYG. I love using this method each one joined with a different colour. I love the little hinges and the vintage patchwork effect - so my little cushion project was well under way
 |
| Joining more granny squares 2 sides now |
I decided to use a 32 x 32 cm cushion pad I’d bought in Dunelm, it’s the perfect size for 16 x 16 granny squares.
Each granny square is made up of 2 colours then I joined each one using JAYG on round three, I flipped it over on each row
After I’d made a batch of 32 (round 2) granny squares I sat and sewed in the ends. You should really do this because joining in round 3 makes it a little tricky to sew in afterwards
It doesn’t take that long as they are so small and once you’ve done this you’ve only got a little sewing to do as you join them, which again I do as I finish each one
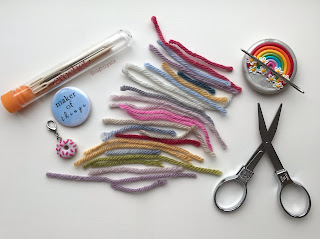 |
| Sewing in the ends |
Once you have 32 granny squares to round 2 you are ready to start joining. The first granny square is finished to round 3 because you are going to attach granny square 2 to this one
Sew in the ends as you go along - again it makes it easier as you join each square. Using JAYG join squares 2-4 for the first row using a different colour for each join
Then working from the first row of 4 granny squares (left to right) join the next 4 and so on until you have 16 granny squares joined - that’s your first side completed
For the second side use the same method as above, joining 4 granny squares then 8 until you have 16 completed
Make sure you’ve sewn in all your ends. I do this on the wrong side of each panel. To join both sides with wrong sides together (right sides facing you) you will now join the two pieces together using just single crochet, no zips or buttons!
I started mine just before the first corner, about 5cm . Join your joining colour and ch1 then sc through both sides and all loops (see photo below as a guide)
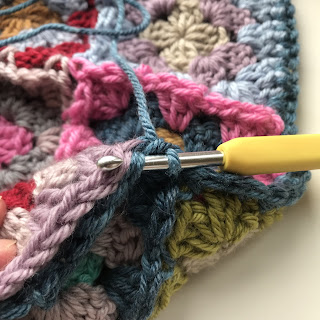
You can see from the photo above sc in progress and the loops you need to use
Here’s a corner shot, you can see how neat the corner is just by following the stitches from both sides, it’s very easy
Once you’ve reached the 4th corner insert your 32 x 33cm cushion pad carefully, you can add a stitch marker to your live stitch as this will stop it unraveling
Now you will continue to sc both sides together until you reach your starting point. I did a ss (slip stitch) to the first sc and carefully sewn in the tail under the first sc section, cutting off the surplus yarn
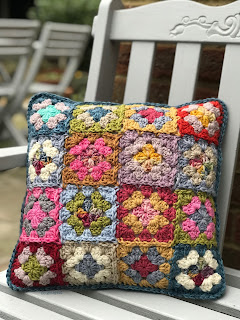
And here it is finished. It’s now sitting beside me on my sofa as I type this post and I’ve started the second one!
I’ll add some more information on JAYG in another post as I have a tutorial from a previous pattern
Comments