Mustard Granny Cushion
Amanda
Hurrell Eight-by-Six©

Sizes and Materials List
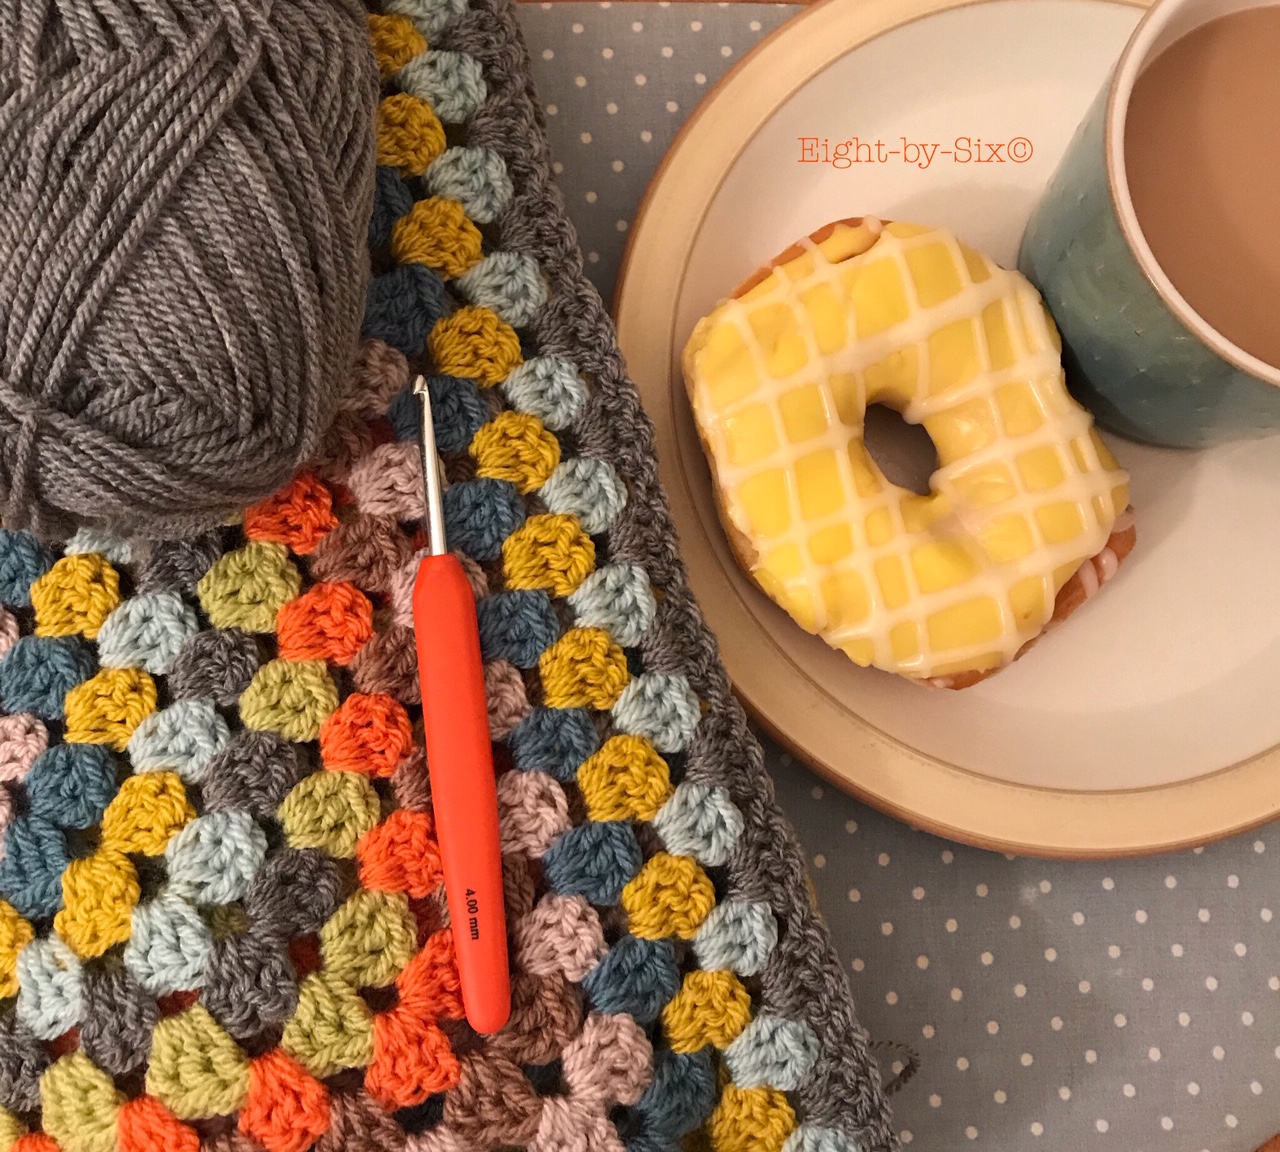
Hook Size UK 4mm
Hook Size UK 4mm
Yarn: Stylecraft Special DK
322 yds/295 metres per 100g ball
322 yds/295 metres per 100g ball
You can use any colour you want to for this pattern.
Its great for using up your yarn stash or if you want to make as a present you
can use the recipient’s favourite colours. So many possibilities, its my favourite part
choosing colours.
3 x 22mm buttons, I like the look of odd buttons
with yarn colours taken from the cushion (I’ve also used four glitter buttons on
my first cushion from John Lewis shown on page 8)
Wash care instructions: machine washable 40deg, cool tumble dry, cool iron, can be dry cleaned (I line dry mine) Wooden buttons are not normally machine washable, a great tip is to remove them before washing and just sew back in place once the cushion cover is dry.
Wash care instructions: machine washable 40deg, cool tumble dry, cool iron, can be dry cleaned (I line dry mine) Wooden buttons are not normally machine washable, a great tip is to remove them before washing and just sew back in place once the cushion cover is dry.
Colours
For the front I’ve used Tomato, Mocha, Storm Blue,Pistachio, Graphite, Mustard, Duck Egg, Raspberry,Cloud Blue & Bluebell
Tips & Notes
One great tip I learnt is to flip your work on each row. This is a great way to keep your granny square, well square and not wonky. It works like magic and since using this method I’ve never looked back. To do this you flip over your square so that the previous row and join are now in the bottom left hand corner of the square (wrong side facing you) and you start the next row in the top right of the square.
One great tip I learnt is to flip your work on each row. This is a great way to keep your granny square, well square and not wonky. It works like magic and since using this method I’ve never looked back. To do this you flip over your square so that the previous row and join are now in the bottom left hand corner of the square (wrong side facing you) and you start the next row in the top right of the square.
On the first and subsequent rounds I chain 2 in the
corners between the tr clusters. To keep the stitches closer together, I don’t
chain in-between the treble clusters along each side.
Abbreviations
ch
= chain
ss = slip stitch
dc = double crochet
tr = treble
htr = half treble
ss = slip stitch
dc = double crochet
tr = treble
htr = half treble
Gauge:
crochet to your own comfortable gauge, it’s a fun, relaxing way to make a simply granny square cushion so you need to enjoy it. Grab yourself a coffee/tea
and off you go.
Skill
Level: beginner
Pattern Instructions
This pattern is written in U.K. terms and we will be using the basic granny square pattern for
this blanket. It’s an easy pattern for beginners and loved by experienced crafters
too. Making granny squares is very satisfying and when making two granny squares
you can make this simple yet effective cushion cover. There are many variations
of the granny square, this is my method.
Let’s start
Make the foundation round/circle Slip knot your yarn and insert onto your 4mm hook. Using your first colour Ch 4 stitches, insert hook into first chain and slip stitch to first chain to make a circle.
Round
one Ch 3 (this will count as your first tr) 2tr,
ch-2, *3tr, ch-2* repeat 3 times. Slip stich (ss) to join round You’ve
completed your first round.
Round
two Flip square. Change colour Ch 3 in one of the ch-2
spaces from the previous round (this will count as your first tr) you can crochet over the tail from the previous row 2tr, ch-2,
3tr (no chain) *(3tr, ch 2, 3tr) in next ch-2 space *repeat 3 times. You should
now have 4 corners. You’ve completed your second round.
Round
three Flip square. Change colour and join in right-hand
corner ch-2 space (reverse of Round 2) ch 3 (this will count as first tr) 2tr,
ch-2, 3tr, 3tr (in next 2-ch space=side), 3tr ch-2 3tr in next chain space, 3tr,
repeat 3 times then slip stitch to third chain where you started. You have
completed round 3.
Continue to add each row using the above method in
Round three, remembering to flip each row and start in the right-hand corner and crochet over the tail from the previous row (this saves time when sewing in all the ends and makes it neater).
I have used one colour for each of the rounds
(rows) alternating as shown in my colour list. Continue to add more
rows/colours until you have 15 rows in total to fit the same size cushion insert that I have used. If your cushion insert is smaller/bigger, please adjust to fit.
Make the last row the colour you want to join and
make your border, this will give you a nice wide band like my examples shown.
Sew in all the ends.
Make another granny square the same size, same
number of rows, same finishing colour for the last row. Remember to flip each
row to keep your granny square, square. You need two sides to make your granny
square cushion construction.
I’ve added some photos that
should help you along with the joining in method I use. If you have any
questions, please do contact me via my Instagram account messages or by email to eight_by_six@hotmail.com
Joining the two granny squares
I join mine with right
sides facing you (wrong sides facing together) this is the finished side. It’s
a little fiddly but once you get the rhythm going it will become easier. You
need to crochet through both loops on the front and back of both granny squares.
Hold both granny squares
together (right side facing you) and starting on the bottom right side (4th
granny cluster) insert your hook to make a SS to start the join.
Insert hook through all loops holding both granny squares together YO close both sides, 3 stitches remaining, YO pull through all the stitches. You have completed your first htr. Now htr into each stitch until you reach your first corner, making sure you crochet through both loops on the front and back granny squares.
In the corner : htr4 then
htr into the first stitch after that corner
(shown in picture 2)
 |
| Picture 2 |
Keep adding a hrt to each
stitch all the way along until you reach the 2nd corner htr4 into the corner
and continue to add a hrt to each stitch until you reach the 3rd corner (htr4
in the corner) then htr into each stitch until you reach the 4th corner, 4htr
into the corner then htr into the next stitch. Htr until you reach the 4th
granny cluster on the bottom left hand side. Do not ss at this point.
Next : htr into the 2nd
stitch on the bottom row (see picture 3) you will now be adding a htr into each
stitch on the bottom row only.
 |
| Picture 3 |
Add htr into every stitch
until you reach the front, then htr into the first stitch on the top row through both loops (picture 3)
You will now be adding a
htr into each stitch on the top row
only
When you reach where you started/joined, ss to close the opening (see picture 4 below)
 |
| Picture 4 |
Finishing
Sew in both ends neatly using your darning needle. Weave in ends on the inside join.
Wash if required using manufacturer’s instructions,
although I don’t think it will need this.
Buttons
Add the buttons to the
bottom panel to line up with three granny clusters on the top panel using
different colours scraps of yarn (match the colours to your granny stripe
colours) When you push the buttons to close the granny cushion you should have
a continuous border panel.
Cushion insert
I have used the 37 x 37cm size cushion available in many shops, mine was purchased in Dunelm but you can buy them in John Lewis.
Colour sequence
Raspberry (centre)
Mustard
Cloud Blue
Bluebell
Tomato
Duck Egg
Mustard
Graphite
Storm Blue
Raspberry
Pistachio
Mocha
Tomato
Duck Egg
Mustard
Mustard
Mustard
Cloud Blue
Bluebell
Tomato
Duck Egg
Mustard
Graphite
Storm Blue
Raspberry
Pistachio
Mocha
Tomato
Duck Egg
Mustard
Mustard
Alternative colours for back (as
shown in mustard version)
Meadow
Fondant
Mustard
Violet
Cloud Blue
Fondant
Mustard
Violet
Cloud Blue
Boysenberry
Aster
Clematis
Fondant
Mustard
Sage
Raspberry
Parma Violet
Pistachio
Tomato
Mustard (2 rows)
Aster
Clematis
Fondant
Mustard
Sage
Raspberry
Parma Violet
Pistachio
Tomato
Mustard (2 rows)
 |
| alternative colours |
Credits
My crochet journey started 7 years ago when my dad was first diagnosed with cancer and my love of crochet took over my life. I love to make things and don’t like over complicated designs or constructions and came up with this pattern. Once you’ve made one, you’ll want to make lots more. You can purchase an ad free pdf pattern via my Lovecrochet, Etsy and Ravelry stores.
My crochet journey started 7 years ago when my dad was first diagnosed with cancer and my love of crochet took over my life. I love to make things and don’t like over complicated designs or constructions and came up with this pattern. Once you’ve made one, you’ll want to make lots more. You can purchase an ad free pdf pattern via my Lovecrochet, Etsy and Ravelry stores.
 |
| cushion stack |
Pattern and photos by Amanda Hurrell, Eight-by-Six©
You are welcome to use my pattern to make cushions to sell, but please do not copy the pattern Please credit me back with eightbysix, thank you.
You are welcome to use my pattern to make cushions to sell, but please do not copy the pattern Please credit me back with eightbysix, thank you.
Comments
Sorry I don’t have a video tutorial